Ethereum Payments Using JavaScript and MetaMask
If you can code a JavaScript app, you can build Ethereum payments into it, with the help of MetaMask.
JavaScript is the world's most popular computer language. Ethereum is the world's most popular programmable cryptocurrency. MetaMask is the no. 1 in-browser cryptocurrency wallet.
For what they do, JavaScript, Ethereum and MetaMask are the leaders in their markets.
Using MetaMask
About MetaMask
MetaMask is a wallet for Ethereum. MetaMask is a piece of software that lets you 'buy, store, send, and swap Ethereum and Ethereum-like tokens.'
MetaMask is available in two forms: as a browser extension, and as a mobile app.
This tutorial will focus on coding up ways for the user to use the browser extension to purchase things using the MetaMask browser extension.
Why would you want to use MetaMask instead of coding up your own browser wallet?
One reason is because it's difficult to write a whole wallet by yourself. You have to think about security, storage and multiple issues beyond the scope of this tutorial (it would be 10 times as long).
By letting MetaMask handle the wallet code, you can get straight to the good part: getting payments from people holding Ethereum.
Another reason is because MetaMask has become the industry standard. People trust MetaMask. If a crypto app, or an Ethereum-accepting service, asks you to open MetaMask, no one finds it weird. MetaMask was developed by ConsenSys, founded by a co-founder of Ethereum, Joseph Lubin.
Installing MetaMask
This app requires MetaMask. This means your users will have to install MetaMask.
Your users will need to go to the browser extension store for their browser. You can see the Google Chrome version of this page at the MetaMask link, which includes a great explainer video about MetaMask.
Google Chrome MetaMask extension
After a user installs MetaMask, restarts their browser, logs in, and deposits Ethereum into it, they can use the payment methods described here. But if your user already owns Ethereum, they probably have MetaMask installed.
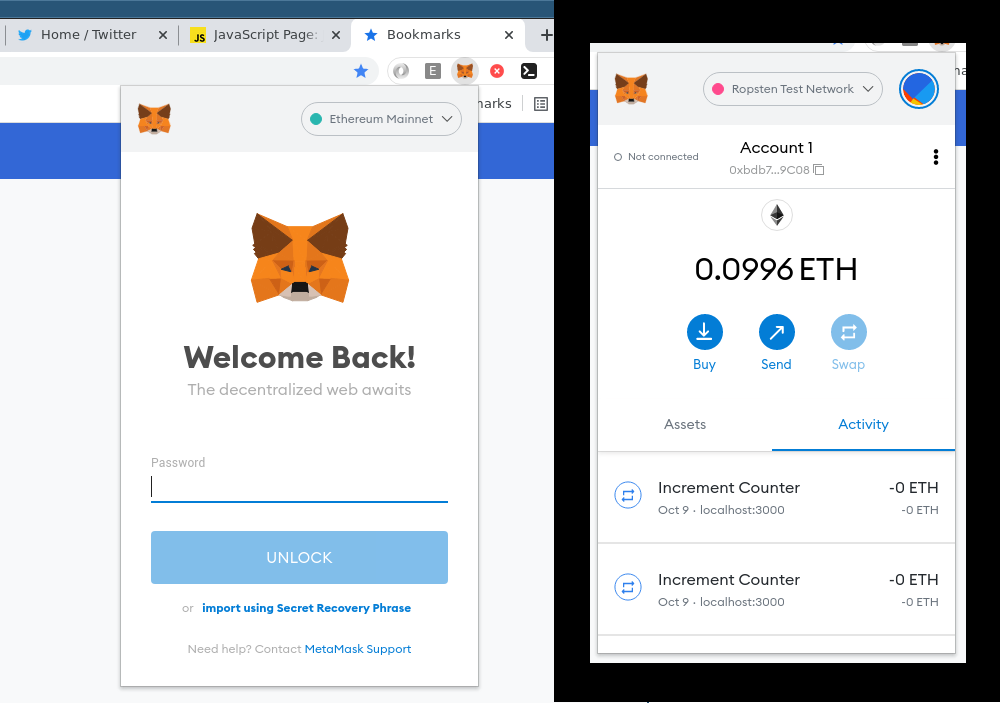
Here's what MetaMask looks like in the extensions bar of my browser, what the password prompt looks like when I click on it, and what you see, after clicking, as a balance.
Building the Web3 App using Ethers.js
As Ethereum.org puts it, in their Web2 vs. Web3 explainer:
Web3, in the context of Ethereum, refers to decentralized apps that run on the blockchain. These are apps that allow anyone to participate without monetising their personal data. [The MetaMask video has more detail.]
Many Web3 app tutorials use React, and this one does too. I've written a 'how to learn' React guide called React Fundamental Concepts. There's also the official React documentation.
Accepting Ethereum Payments: App and Code
GitHub Code
This demo app code uses React and ethers.js to accept user payments, and will be used in this tutorial.
github.com/CurrentCoin/ecommerce-react-metamask
You can copy and run it locally using git clone, npm install, and npm start.
The ethers.js library makes it easy to interact with Ethereum using JavaScript; it sets out to be a complete and compact library for interacting with the Ethereum Blockchain and its ecosystem.
This is what's tying in your app to MetaMask, and through MetaMask, to the Ethereum blockchain. With Ethers.js, you can include Ethereum payments in any JavaScript app you build.
Live Demo
If you want to see what this code looks like when running, check out ccoin.live, where the code is running as a site hosted on AWS which is viewable and clickable.
The live app has a few example services you can pay for, using Ethereum. You fill out a form uploading your information, then you click to connect MetaMask and pay (note: don't do that with real Ethereum).
On the landing page you'll see the options. The flow is that you select one and go to it. Those are all standard pages under intuitively named components, which you can also examine.
Payment Code
The most important file is the PayerEth.js file. Inside that, the most important function is PayerEth().
github.com/CurrentCoin/ecommerce-react-metamask/blob/main/src/PayerEth.js
First, the app makes sure that the user has MetaMask installed, and is connected to it.
If the user hasn't connected their wallet yet, they see a button asking them to press it to connect their MetaMask wallet.
If they have connected, they see a button which, once they press it, will prompt the user to pay in MetaMask (which the wallet handles on its own): that's what the 'payMeta' function does (described in more detail below).
 export default function PayerEth() {
    const amount = '25000000000000000';
    const receiver = '0xDddcf46Ed02a81e38E1906f508CEBa65A8f3B7dD';
const [message, setMessage] = useState(<Button type="button" fullWidth variant="contained"
color="primary" onClick={() => connectMeta(setAccount, setMessage)} >
Connect MetaMask</Button>);
    const [account, setAccount] = useState("");
    if (account === "") {
	return (
	    <>
		{message}
		</>
	)
    } else {
	return (
		<>
		  <Button type="button" fullWidth variant="contained" color="primary"
		  onClick={() => payMeta(account, receiver, amount, setMessage)} >
		    Buy For 0.025 ETH</Button>
		</>
	)

    }
}
Notice that the code uses 'window.ethereum.' As MetaMask explains in their documentation for the Ethereum Provider API:
MetaMask injects a global API into websites visited by its users at window.ethereum... This API allows websites to request user login, load data from blockchains the user has a connection to, and suggest the user sign messages and transactions. You can use this API to detect the user of a web3 browser.
So through this, you can get access to the user's MetaMask wallet.
async function connectMeta(accounted, msged) {
    let ethereum = window.ethereum;

    try {
	const accounts = await ethereum.request({ method: 'eth_requestAccounts' });
	const account = accounts[0];
	accounted(account);
    } catch {
	console.log("connect fail!");
	msged(<><p>Please install MetaMask and reload this page.</p></>);
    }
}
Then, you have the payment code itself.
 async function payMeta(sender, receiver, strEther, msged) {
    console.log(payWithMetamask(receiver={receiver}, sender={sender}, strEther={strEther}))
    try {
	const params = {
	    from: sender,
	    to: receiver,
	    value: strEther,
	    gas: 39000
	};
        await window.ethereum.enable();
        window.web3 = new Web3(window.ethereum);
	const sendHash = window.web3.eth.sendTransaction(params);
	console.log('txnHash is ' + sendHash);
    } catch(e) {
	console.log("payment fail!");
	console.log(e);
	msged(<p>Can't connect MetaMask. Please check MetaMask.</p>);
    }
}
Conclusion
You've seen the app, you have the code. Now, it's time to run this on your computer and plug in your own code.
To recap, PayerEth.js has the MetaMask & Ethereum payment functionality.
The other pages are basically forms and explanations to the user, to lead them to this page and make sure they want to make a purchase.
Now experiment with including these components in different places. The basics stay the same, no matter what app you use.
That's all it takes to include Ethereum payments, using ethers.js and MetaMask, in your app.
With the rise of Ethereum as the premiere programmable blockchain, it's good to know how to use it. With the rise of L2's like Matic and Polygon, it's developer mindshare keeps increasing.
If you know how to use JavaScript, it's not hard to include Ethereum payments. With this code, you'll hopefully be on your way.